
Land Drills for the Forward Stroke Catch
In the last issue of The Catch, we looked at land drills – what they are and why they are so incredibly useful. In this issue, we’ll look at land drills relevant to the catch or the front part of the stroke in which the blade enters the water and gathers and holds water on the blade prior to pull.
In a previous issue we looked at common errors associated with the catch and their fixes. The drills we’re about to look at here will be extremely useful tools in correcting any of these errors and consolidating sound movement patterns typical of an effective catch.
Before looking at the drills themselves, let’s look at the position we see good paddlers in as they are about to catch the water. You’ll recall that in the last issue I described how, as a young canoe paddler, I took photos of the world’s top athletes and tried to mimic the positions I saw these athletes in in front of my parents’ full-length mirror. This formed the basis of the rudimentary land drills that I stumbled upon at thirteen years old which helped me develop effective technique so quickly. The key to any effective land drill is to mimic or even slightly exaggerate on land the body position you want to find on the water. So, let’s begin by looking at the body position that a number of top SUP athletes find at the front of the stroke as they execute the catch. We’re going to find that though these athletes have their own unique and distinctive technique that allows us to easily identify most of them from a distance on the water, most of them pass through the same position for an instance at the start of the stroke. This is the body position we’ll be trying to achieve in our drills.
Different paddlers with their own unique techniques passing through the same position
Candice Appleby

Danny Ching

Michael Booth

Bruno Hasulyo

Connor Baxter

Kai Lenny

Samantha Rutt

Tim Oliver

Larry Cain

When we look at the photos of all of these paddlers, we see a common position they all pass through as they prepare to catch. It can be summarized as follows:
- Athletic stance leaning forward right from the feet with lots of ankle flexion
- Legs bent at the knees
- Hips forward so that the back of the bum is approximately level with or slightly ahead of the heels (note: the degree the hips are forward seems to depend on how rough the water is. The rougher the water, the more difficult to get the hips forward.)
- Lower legs and upper body approximately parallel in their forward lean
- Center of mass slightly in front of the feet
- Comfortable, but not excessive, upper body shoulder rotation
- Bottom hand reaching forward more than down to the water
- Approximate symmetry between the angle of forward body lean with the water and the paddle angle with the water
While each of these paddlers display a unique movement when they paddle, they all seem to pass through a similar position at this point of the stroke. What is it about this position that sees them all passing through it? What does this position help them achieve? Let’s break down the elements of this position point by point and explore what advantages might be derived from each.
- Ankle flexion helps get weight forward by making it easier to keep the hips level with or forward of the heels.
- Getting weight forward right from the feet helps push the center of mass forward. Instead of it being centered squarely over the paddler’s feet, it is instead slightly in front of the feet. This creates a slight feeling of instability, in which the paddler feels like they might fall forward onto the deck of the board or into the water. While instability is bad if it cannot be easily corrected within the stroke, the instability described here is quickly corrected by getting the paddle in the water and loading water on the blade so that it will support the paddler’s body weight. The better the paddler does this, the more stable they’ll feel. Thus, this forward lean from the feet encourages the paddler to not only get the blade buried more quickly, but to more effectively find load with the blade so that it will support more body weight.
- Legs bent at the knees makes it easier to find ankle flexion while also allowing the paddler to get a little lower and closer to the water. This also helps the paddler get the blade buried more quickly.
- Lower legs and upper body being nearly parallel helps ensure the paddler is leaning forward right from the feet with the entire body. If the upper body is bent forward more than the lower legs, it’s more likely that only the paddler’s upper body weight will find its way on to the blade. If the lower legs are leaning forward more than the upper body, the paddler is very likely not utilizing upper body weight enough in loading water on the blade.
- Comfortable, but not excessive, upper body rotation helps the paddler get upper body weight forward and get weight on the blade. Ideally the paddler should “reach to catch” by continuing to reach forward with the paddling side hand and shoulder, rather than down, until the blade begins to enter the water and water is gathered on the blade. This helps the blade get buried quickly and encourages the paddler to bend forward slightly at the waist to just as the blade enters the water, ensuring that maximal upper body weight finds its way onto the blade. In contrast, if the paddler is reaching too far forward in this position with too much upper body rotation, it is likely that they will not get the blade buried as quickly and thus miss opportunity to get body weight on the blade immediately. This is because if the maximal point of reach is attained when the blade is still in the air, the blade has nowhere to go but backward as the it drops towards and enters the water. This is characterized by the paddling side shoulder beginning to unrotate or “pull” before or as the blade is entering. This results in the blade traveling backward significantly before burying and taking longer to get buried, thus taking less body weight and resulting in a loss of effective blade angle in the stroke.
- Approximate symmetry between the angle of the paddler’s forward lean and the angle that the paddle makes with the water at entry tends to be a result of appropriate, rather than too little or too excessive, amounts of forward body lean, upper body rotation and the bottom hand reaching forward rather than down to the water at the entry.
So, the process of looking at the common position that the top paddlers all seem to find at the entry, and the advantages derived from it, should give us a good idea of the position that we should be trying to achieve or slightly exaggerate in a land drill. Let’s look at a couple of land drills based on this position and how to properly execute them for maximal effectiveness.
Setting up the Drills
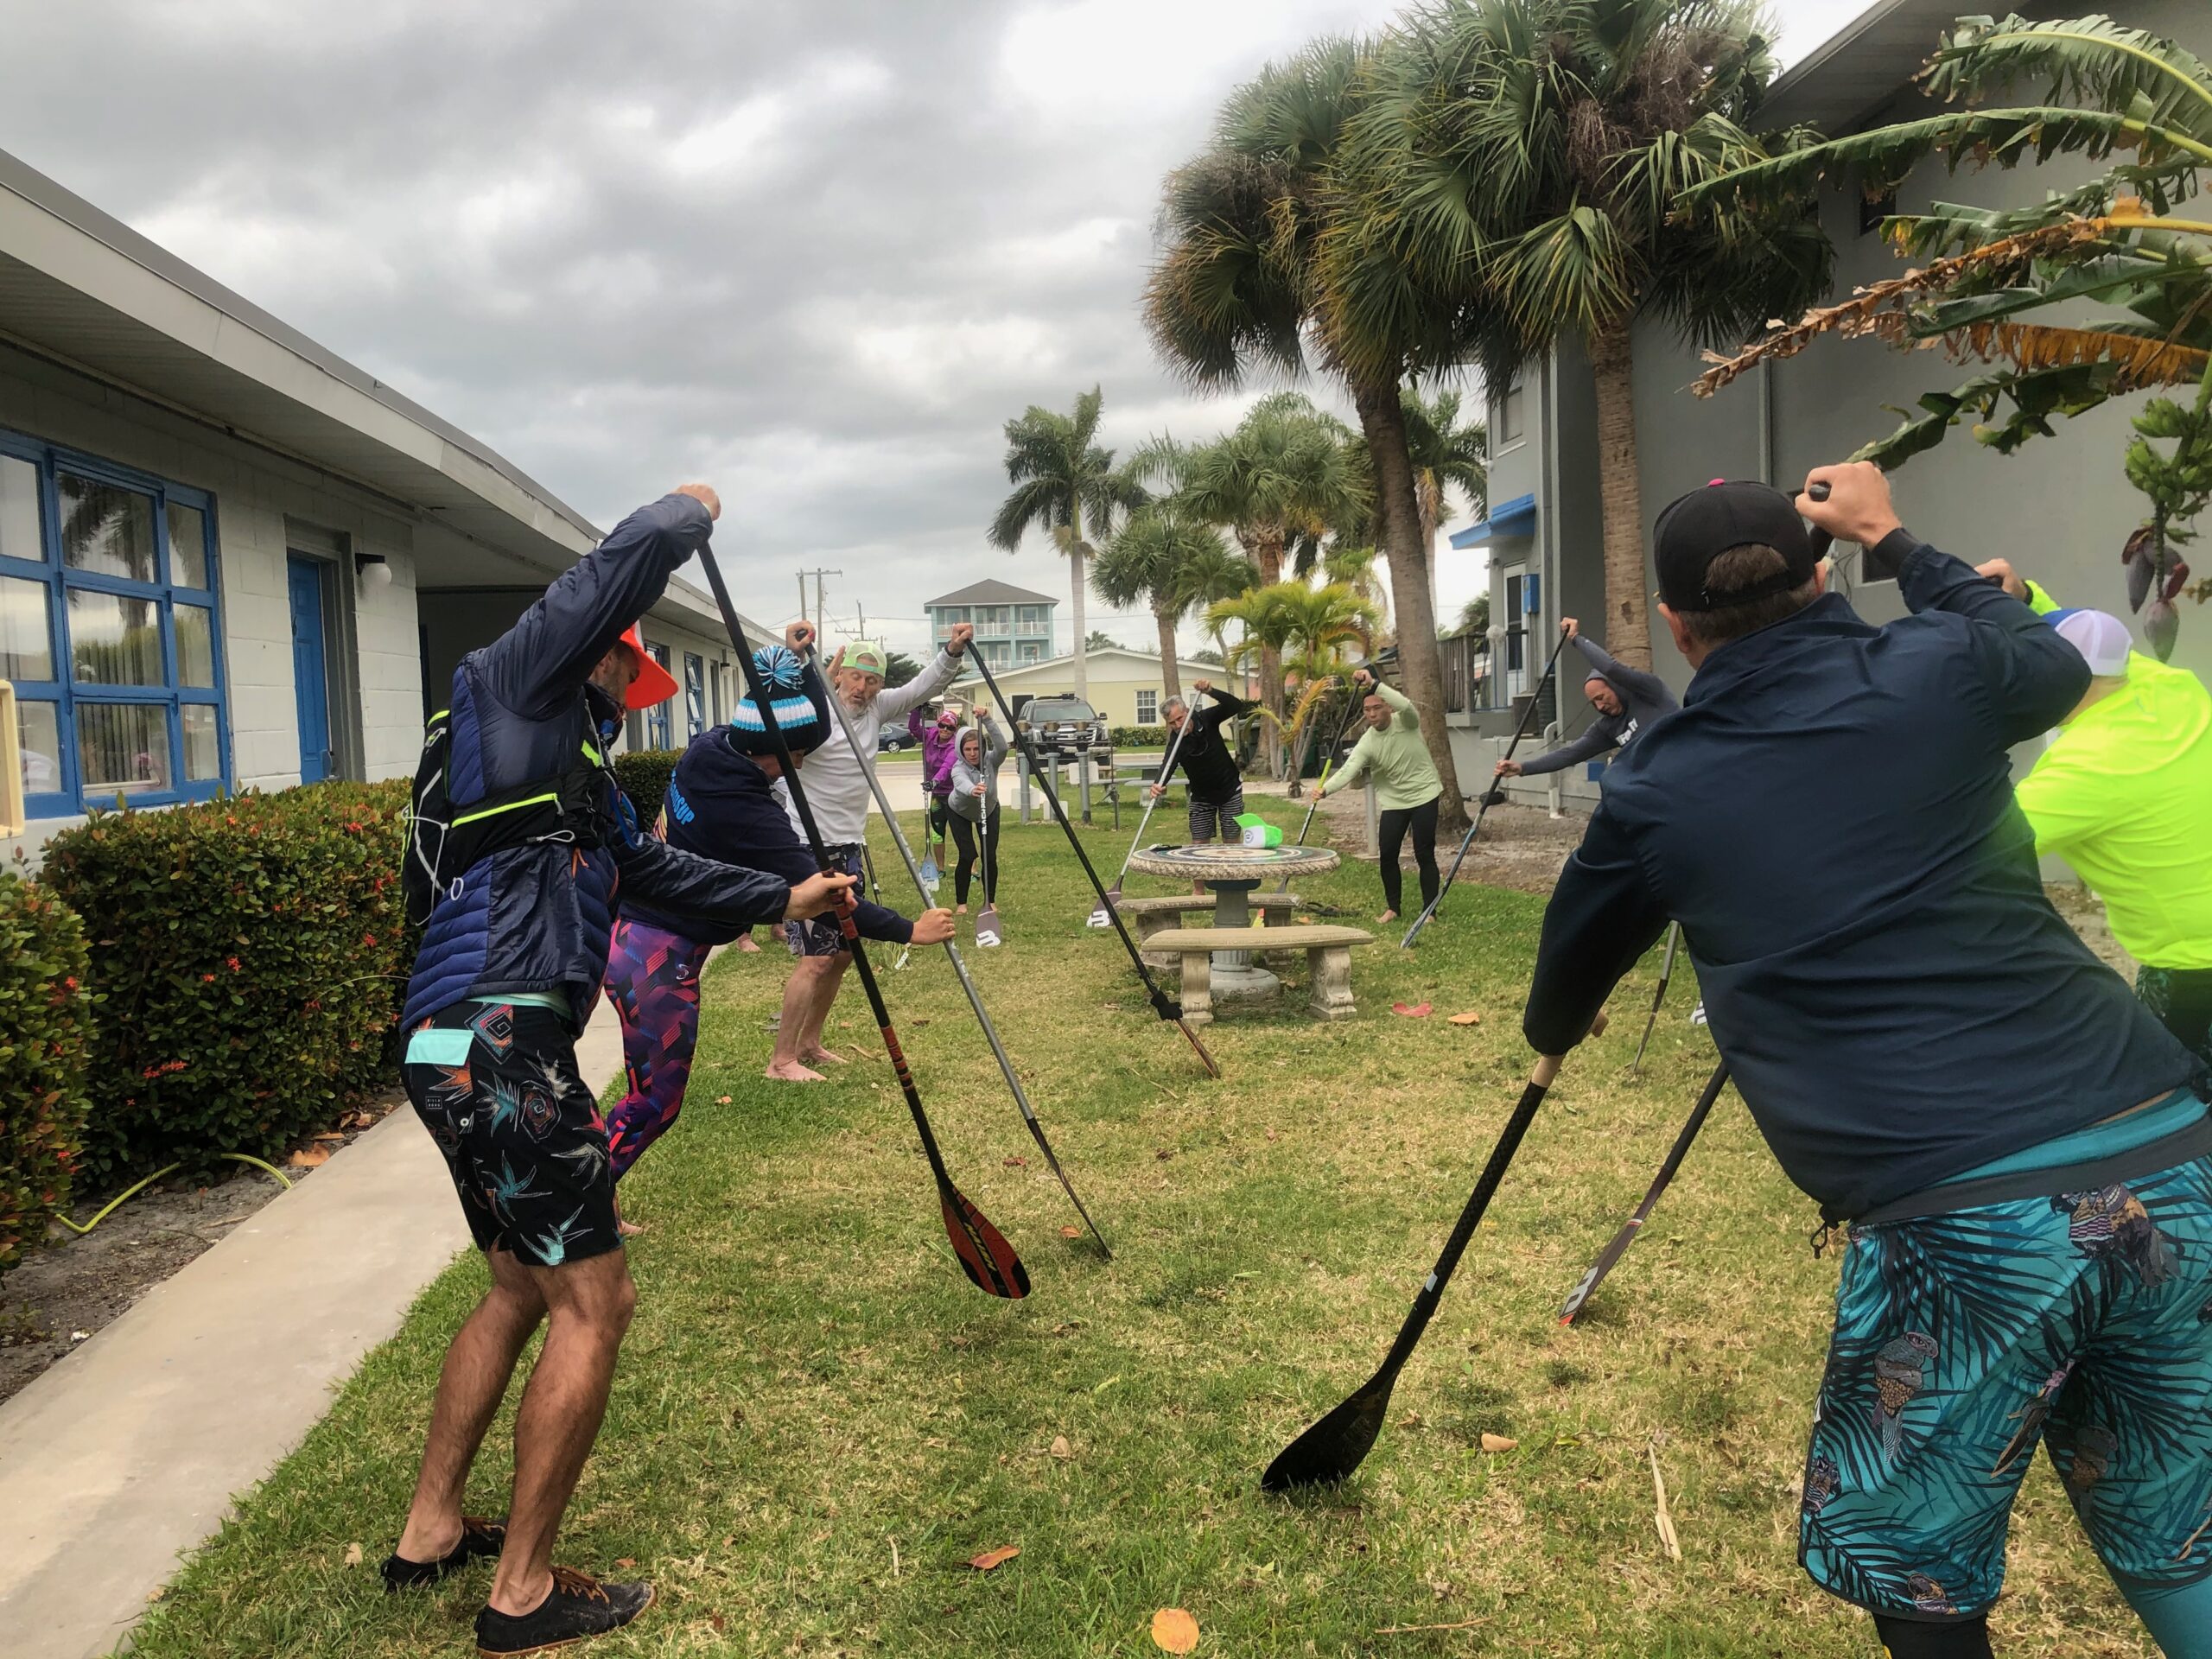
Before practicing the land drills, find a spot with a mirror or mirrors large enough to help you ensure you are achieving the desired positions. Be meticulous with the positions you are trying to find in the drills so that the positions you achieve are as precise as possible and mimic the positions seen in the top paddlers above as closely as possible. I also suggest doing the drills on a non-slip or carpeted floor. Hardwood or tile are not good surfaces for these drills. You want your paddle to stick a little on the ground and support your body weight without damaging it. I recommend a carpeted or rubber surface like that found in many gyms.
Video 1 is a brief introduction to the land drills that we’re doing for the catch and summarizes much of what we’ve talked about above.
Video#1
Video 2 discusses one of the biggest errors people make at the catch which has been described as “sitting in a chair” in the post “Technique Errors and their Fixes, Part 1 – Issues with the Catch” .
Video #2
This error is critical in that it prevents the paddler from getting appropriate weight on the blade immediately as soon as the blade enters the water at the catch, but also does nothing to encourage the paddler to get the blade buried quickly. Too often this will lead to the paddler pulling before they have loaded the blade, losing blade angle and stroke distance in the process. This results in a stroke that is short with too little done at positive to vertical blade angle.
The drills I’ll introduce below go a long way towards preventing you from making this mistake and help you take much more effective strokes with more body weight engaged right from the moment the blade enters the water.
Land drill 1 – Set up and entry
Video 3 describes the land drill for the set up and entry. This drill is extremely effective for helping paddlers learn how to get their center of mass forward so that the blade gets buried quickly with maximal body weight loaded on it.
Video #3
You’ll want to start with your stance, as seen in the video. Start with ankle flexion. Bend at the ankles until your kneecaps are over your toes. Then make sure your hips are forward. You may need to squeeze your glutes a little to push them forward, though the ankle flexion should help make “hips forward” feel a little more natural. If you’re doing this drill in front of a mirror, you’ll want to see that the backside of your butt is level with or slightly in front of your heels.
In this position, you’ll feel like there is a little more weight over your toes than on your heels, though your heels should still be on the ground. You’ll likely also feel a bit of a stretch in the top of your foot and the front of your shins. In this position, it’s not hard to imagine your center of mass being slightly in front of your body.
Now start to rotate your shoulders and reach forward with your upper body. You don’t want anything more than a comfortable, casual reach at first. As you rotate your paddling shoulder forward and begin to lean ever so slightly forward, you’ll feel your center of mass begin to move even further in front of your body.
Keep rotating and reaching forward with your paddling side shoulder, leaning at the waist as you do as seen and described in the video. Make sure you keep your hips forward, preventing them from moving back behind you to counter balance your forward upper body lean. You may have to actively push your hips forward with your glutes a bit to keep them from moving backward. As you continue to reach forward with your paddling side and bending at the waist, you’ll quickly begin to feel unstable, as if you are going to fall forward onto your face. This is exactly the sensation that you want to feel.
Keep rotating your shoulders and lean slightly to the paddling side as you end up making a controlled “fall” onto the paddle. You’ll find that rather than you toppling forward, your paddle will support you. Make sure that when it does, your shoulders are “stacked” with the top hand over the bottom hand and the paddle shaft vertical as seen from the front. This is explained and demonstrated in video 4.
Video #4
In this position, with the paddle supporting you, take a moment to look at yourself in the mirror. You should see some symmetry in the amount of forward lean in your lower legs and upper body. You should see your hips forward, with the back of your butt level with or slightly ahead of your heels. You should see your shoulders stacked as described above, and you should see that you have more shoulder rotation now than you have had at any time since you began reaching forward. In short, your body position should be very similar to the positions we’ve seen some of the top athletes pass through while paddling in the photos above.
Take your time and lean on the paddle a bit so you can become familiar with this position. Try to identify what being in this position feels like in all your muscles. This is an essential step in being able to learn to find this position on the water.
Turn around and do the drill facing in the other direction, so you can check your positioning in the mirror from the other side. Make any corrections necessary so that your positioning resembles that we’ve seen in the pros as much as possible. Make sure you do the drill on both sides facing directly into the mirror as well. In particular, you’ll want to make sure your shoulders are stacked, you’re leaning over to the paddling side, and your paddle is vertical. Imagine it tucked right up against the side of the board as you catch.
Once you’ve done the drill a few times on the first side, do it an equal number of times on the opposite side. You’ll likely find that you feel more coordinated and comfortable doing it on one side than on the other. That’s normal. For now, do the drill equally on both sides. When you get to the point where you feel like you can do it really easily and naturally on your stronger side, with perfect positioning, you can begin to spend a little more time doing the drill on your weaker side. Your mastery of the drill on your stronger side will help you more quickly master it on your weaker side.
Regardless of your level, you should probably spend five to ten minutes, three times a week, doing this drill. I still try to do all the drills three times a week when I am at the gym. If you’re relatively new to paddling or require obvious corrections in your technique, this drill is going to be a really important tool for you. However, even if you are experienced and have good technique, you’ll want to continue to do this drill regularly to ensure you maintain your technique. You might even be able to find incremental improvements in your technique from doing land drills, and often incremental improvements in technique yield considerable results in performance.
Land drill 2 – Reaching to catch
Video 5 is a drill designed to help those that have difficulty “reaching to catch” with their bottom hand and shoulder and instead begin to pull before the blade is properly set in the water.
Video #5
The idea of good paddling is to get the blade set as quickly as possible with positive blade angle and body weight on the blade. This is impossible to do if the blade is being pulled towards the paddler as the blade is entering the water. In this case, the blade travels too far backwards while getting buried. There is an associated loss of blade angle and body weight really doesn’t load onto the blade until the blade is closer to the body with most positive blade angle already lost. Drill 2 is very useful in preventing this.
Start with your body in the position you got to at the end of drill 1. Take your bottom hand off the paddle and then relocate your top hand onto the paddle shaft a seen in video 5. This drill is for your paddling side only, but you’ll want to use your paddle to lean on so that you can stay in that unstable, forward leaning position while doing this drill, without your hips creeping out behind you to counter balance.
Start with a comfortable, casual reach and then extend your paddling side hand forward as seen in the video, taking your paddling side shoulder and hip forward with it. Drop at the waist as you extend so that you are effectively lowering your entire paddling side towards the floor. Looking in the mirror, you should see that you are opening up the angle between your paddling side arm and your torso. Now, to finish, image the blade entering the water with your entire paddling side from your hand to your hips behind it. Video 6 shows this motion as seen from the paddling side, which may present a view which is easier for you to visualize this.
Video #6
Once you’ve simulated the blade entering and gathering the water, rewind your body back to the drill’s starting position and repeat. You’ll find that rewinding the motion reinforces what you just felt, and that it accelerates the learning of this motion.
Repeat this motion ten times, checking your positioning in the mirror as you do so. Then do it another ten times facing in the opposite direction so you can check your positioning from the other side. Then switch sides and do the drill paddling on the other side.
This drill should be done in conjunction with drill 1, again, three times a week for five to ten minutes. It will absolutely help those that “pull to catch”, quickly losing stroke length and paddle angle, correct that problem. But it should also be done regularly by those that are already better at “reaching to catch”. It will help ensure that you don’t slip into bad habits and will likely help you continue to find incremental improvements in this part of your stroke.
Conclusion
Remember, these drills are meant to augment what you do on the water, not replace it. The ideal scenario would see you doing them regularly in conjunction with paddling so that you can still remember what you felt in the land drills when you get on the water. I found great success doing this as a young canoe paddler and it made a huge difference, allowing me to quickly develop world-class technique as a young teenager.
If you cannot paddle over the winter, however, it would be a mistake to wait till you get back on the water to begin doing these drills. Doing them regularly throughout the winter will train your body to easily find the positions on land that it should be passing through on the water, so that when you do get back on the water you’ll more quickly find them on your board.
Have fun incorporating these drills into your training and, as always, if you have any questions please don’t hesitate to ask them in the comments below.
Happy paddling!
Paddle Events
18th Annual Washington Canoe Club Kumu’ohu Challenge
DeSatnick Foundation Around the Cape Paddle
Ohio River Paddlefest Races
Recent Classifieds
2018 Starboard Allstar 14 x 24.5 $999
- Sell
- 6 days ago
- Stand Up Paddleboard
- 07005 Boonton , New Jersey United States
- 96 views
OC1 Ehukai
- Sell
- 7 days ago
- Outrigger
- Wilmington , North Carolina United States
- 71 views
SUP Surf Nolte 8’10”
- Sell
- 1 week ago
- SUP Surf
- Wilmington, NC
- 103 views
Sunova Ocean Faast
- Sell
- 2 weeks ago
- Stand Up Paddleboard
- Rock Hill , South Carolina United States
- 142 views
14′ Infinity Race SUP
- Sell
- 3 weeks ago
- Stand Up Paddleboard
- Newport Beach , California United States
- 191 views
Subscribe for Premium Content and Coaching
Join the Paddle Monster paid Plan Today!
You May Also Like

Gear Review: Geckobrands Waterproof Drybag Essentials

1 Comment
Kevin Kleiner
Thanks for these drills. Especially the first one. shows how “committed” you are to loading the paddle with more of your body weight. Recognize this is something that could really help with the power of my paddling.